The process of hosting a Robyn app on various cloud providers.
Railway
We will be deploying the app on Railway.
A GitHub account is needed as a mandatory prerequisite.
We will deploy a sample "Hello World," demonstrating a simple GET route and serving an HTML file.
Directory structure:
app folder/
  main.py
  requirements.txt
  index.html
Note - Railway looks for a main.py as an entry point instead of app.py. The build process will fail if there is no main.py file.
main.py
from robyn import Robyn, serve_html


app = Robyn(__file__)


@app.get("/hello")
async def h(request):
    print(request)
    return "Hello, world!"


@app.get("/")
async def get_page(request):
    return serve_html("./index.html")


if __name__ == "__main__":
    app.start(url="0.0.0.0", port=PORT)
index.html
<h1> Hello World, this is Robyn framework! <h1>
Exposing Ports
The Railway documentation says the following about the listening to ports:
The easiest way to get up and running is to have your application listen on 0.0.0.0:$PORT, where PORT is a Railway-provided environment variable.
So, passing the URL as 0.0.0.0 to app.start() as an argument is necessary.
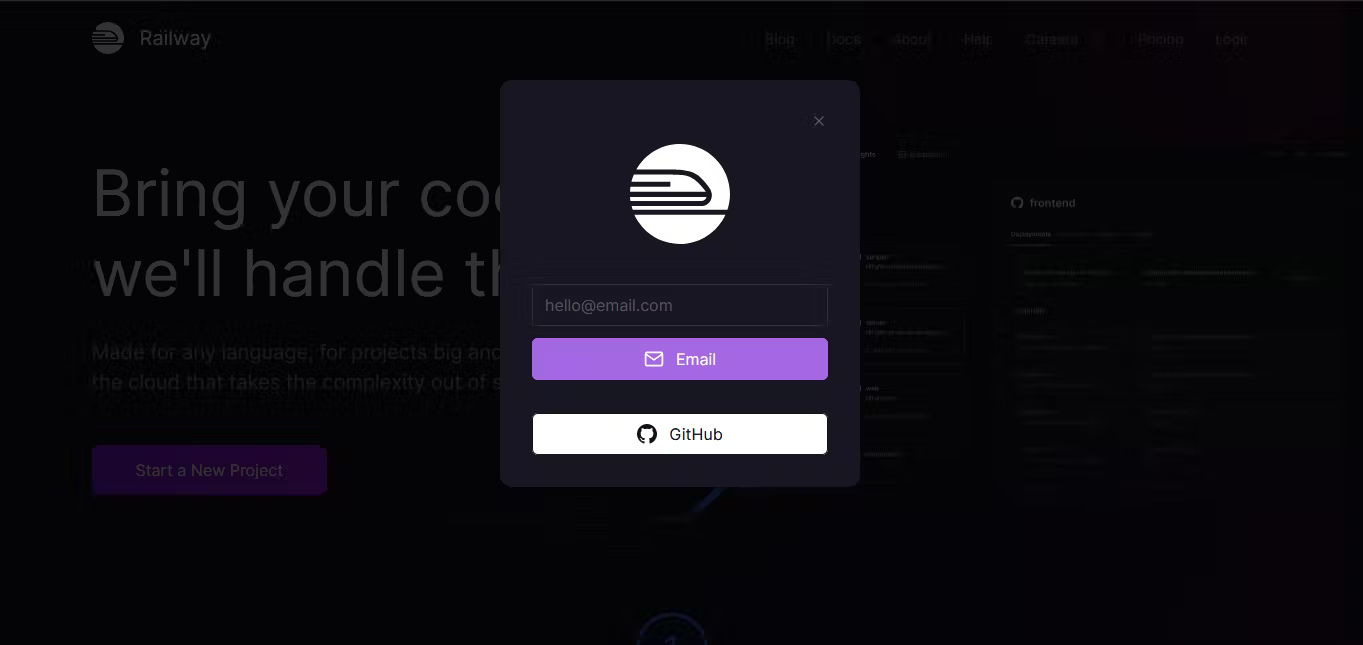
We need to create a Railway account to deploy this app on Railway. We can do so by going on the Railway HomePage.
Press the "Login" button and select "login with a GitHub account."
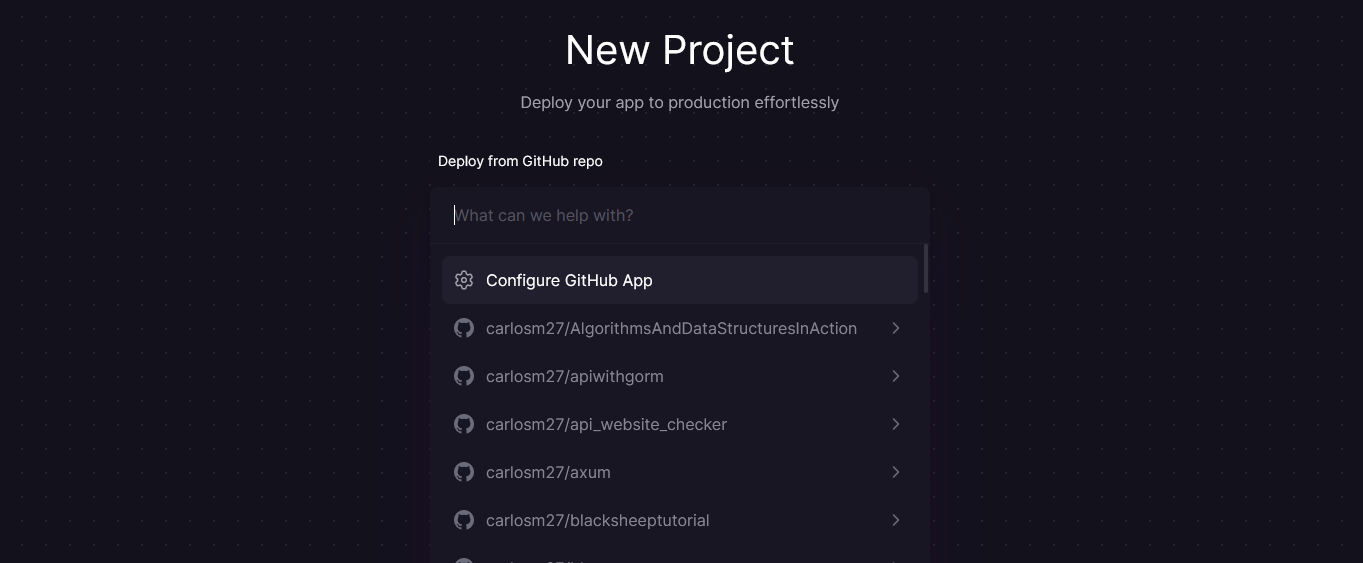
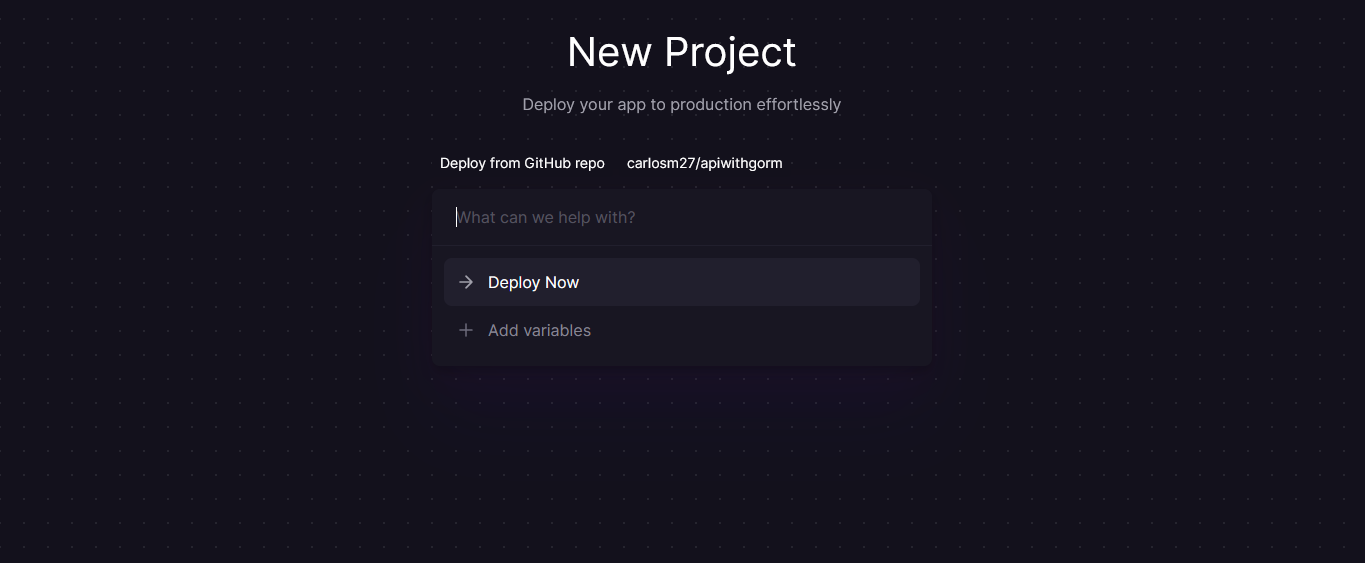
Then, we press the "New Project" button and select "Deploy from GitHub repo".

Then we select the repo we want to deploy. And click "Deploy Now".
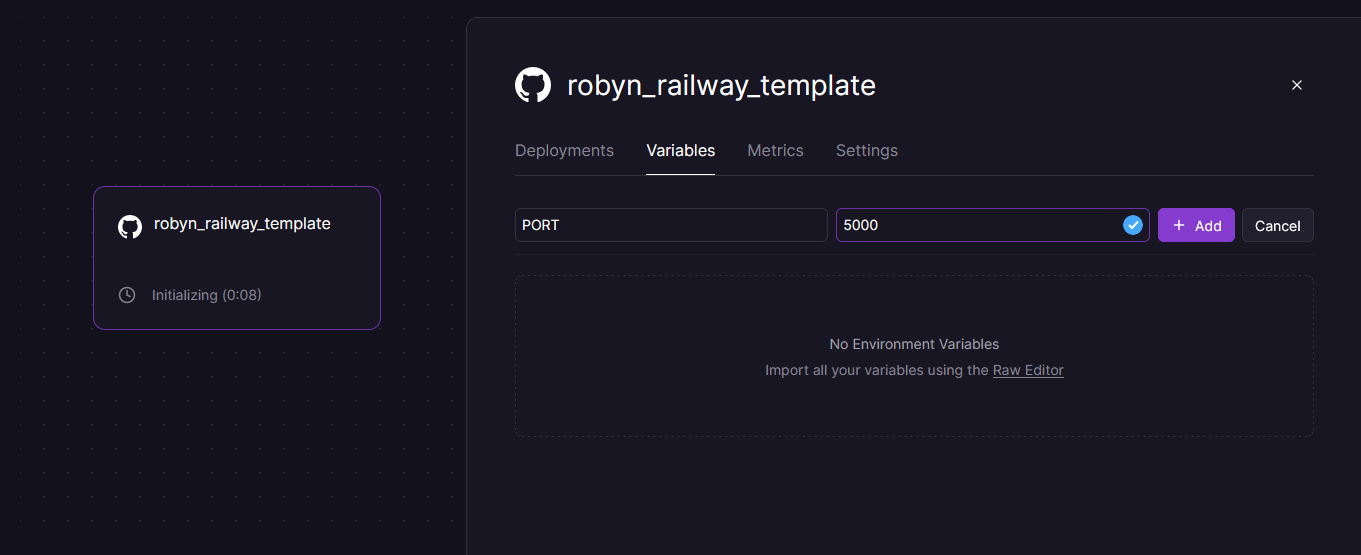
Now, we click on our project's card.
Select "Variables" and press the "New Variable" button to set the environments variables.
Then, we go to the "Settings" tab and click on "Generate Domain."
We can generate a temporary domain under the "Domains" tab.

We can go to our domain <domain>/hello and confirm that the message "Hello World" is displayed.